Cucina Valentina

Cucina Valentina
Showing posts with label basil. Show all posts

Tuesday, August 15, 2017

Heirloom Tomato Tart

Here in California, tomatoes are a summertime staple.

Unfortunately I am apparently lacking the all-important green thumb.  For three years in a row I have planted numerous tomato plants in the ground, in pots, hanging upside down, all to no avail.

My dreams of cultivating mammoth-sized red, ripe beauties are repeatedly crushed by the few spindly runts the plants produce.  So, I give up.  Why water, fertilize and worry and water some more, when I can drive a mile down the road to Tom's Farms, our local produce stand, and be dazzled by their amazing tomato display, while supporting our local farmers at the same time?

With so many gorgeous varieties and colors to choose from, even in grocery stores now, it's possible to put together a virtual, edible work of art in just minutes!


This tart is one of my favorites.  It makes for an incredibly impressive presentation - with only six ingredients!

Start with the prettiest tomatoes you can find.  I love mixing sizes as well as colors, from mottled greens to vibrant yellows and reds, to achieve a rustic effect.


Pepperidge Farm Puff Pastry Sheets are deliciously flaky and fun to create with.  I've started keeping them in my freezer at all times. 


Just roll the sheet out to your desired size and shape, prick all over with a fork, pop it in the oven for ten minutes, let cool and you are ready to start creating!


A simple base of minced shallots mixed into cream cheese makes a delicious foundation that compliments the tomatoes.


Once the tomatoes are artfully arranged on top of the cheese, sprinkle with sea salt and coarse ground black pepper to enhance flavor.  I used Cucina Valentina Lemon Rosemary Sea Salts, of course.  lol


Then back into the oven for a quick broil and you are ready to start decorating!


Nothing crazy here.  Just a drizzle of balsamic glaze and a scattering of basil leaves is enough.


Heirloom Tomato Tart


Ingredients


Puff Pastry - 1 sheet
3 - 5 Heirloom tomatoes (assorted colors, sizes)
8 oz cream cheese
2 T minced shallot
salt and pepper
balsamic glaze
fresh basil

Directions


Roll out puff pastry on a floured surface to fit your rimmed sheet pan.  Prick all over with a fork to prevent puffing.

Bake at 400 for 10 minutes until golden. Let cool.

Mix minced shallots into the softened cream cheese and spread evenly onto the puff pastry, leaving a half inch border around edges.

Slice tomatoes 1/4 - 1/8 inch thick and arrange on top of cream cheese.  Sprinkle with salt and pepper then bake at 400 another 10 - 15 minutes, switching to broil if need be to help caramelize the tomatoes.

Drizzle warm tart with balsamic glaze and scatter with basil leaves.


Guaranteed to get you rave reviews!  My own husband scoffed at the thought of broiled tomatoes. Guess who took all the leftovers to work??


Thursday, March 9, 2017

Portobello Pizza


Hi Friends,

In case you haven't noticed, I have been off the radar for several weeks due to two significant life events, my birthday, and ... wait for it   

My mini kitchen renovation!

Well, the birthday, not so much a life event.  At this stage I would rather do without them, but whatever.  It's just a number, right?

And the mini reno, well, it was actually just having my kitchen cabinets painted.  I know it probably doesn't sound that dramatic, but let me tell you, the difference is immeasurable!  We bought our home 26 years ago, when honey oak was in style.  If you watch HGTV you know that when it comes to kitchens, white is in.  White quartz counters, white Shaker cabinets, whitewashed floors...

While this was not my reasoning for going light, (when it comes to trends, I'm always at least one behind) I felt that going dark would make an already small kitchen feel even smaller, so I went with a cream, Swiss Coffee to be exact, and I have to say, I love it!  Typhoon Bordeaux granite counters that seemed to get lost amidst that orangy oak, now really stand out.


Before


After


As soon as the kitchen was done, off we went to the lake house to celebrate, which, even though it's the dead of winter, made me realize that spring is almost upon us and with it - bikini season.

Yes, I said it.

If anyone understands what this means, it is you, my audience.  Five months of homemade pastas, cheesecakes, carnitas tacos and shepherd's pies. has taken a toll.  It's time to lighten up, so I have decided to go low carb for awhile, and see if it really works.

There are a plethora of low carb recipes out there, so I have stockpiled what look like the best and intend to try them all during the month of March - and beyond.


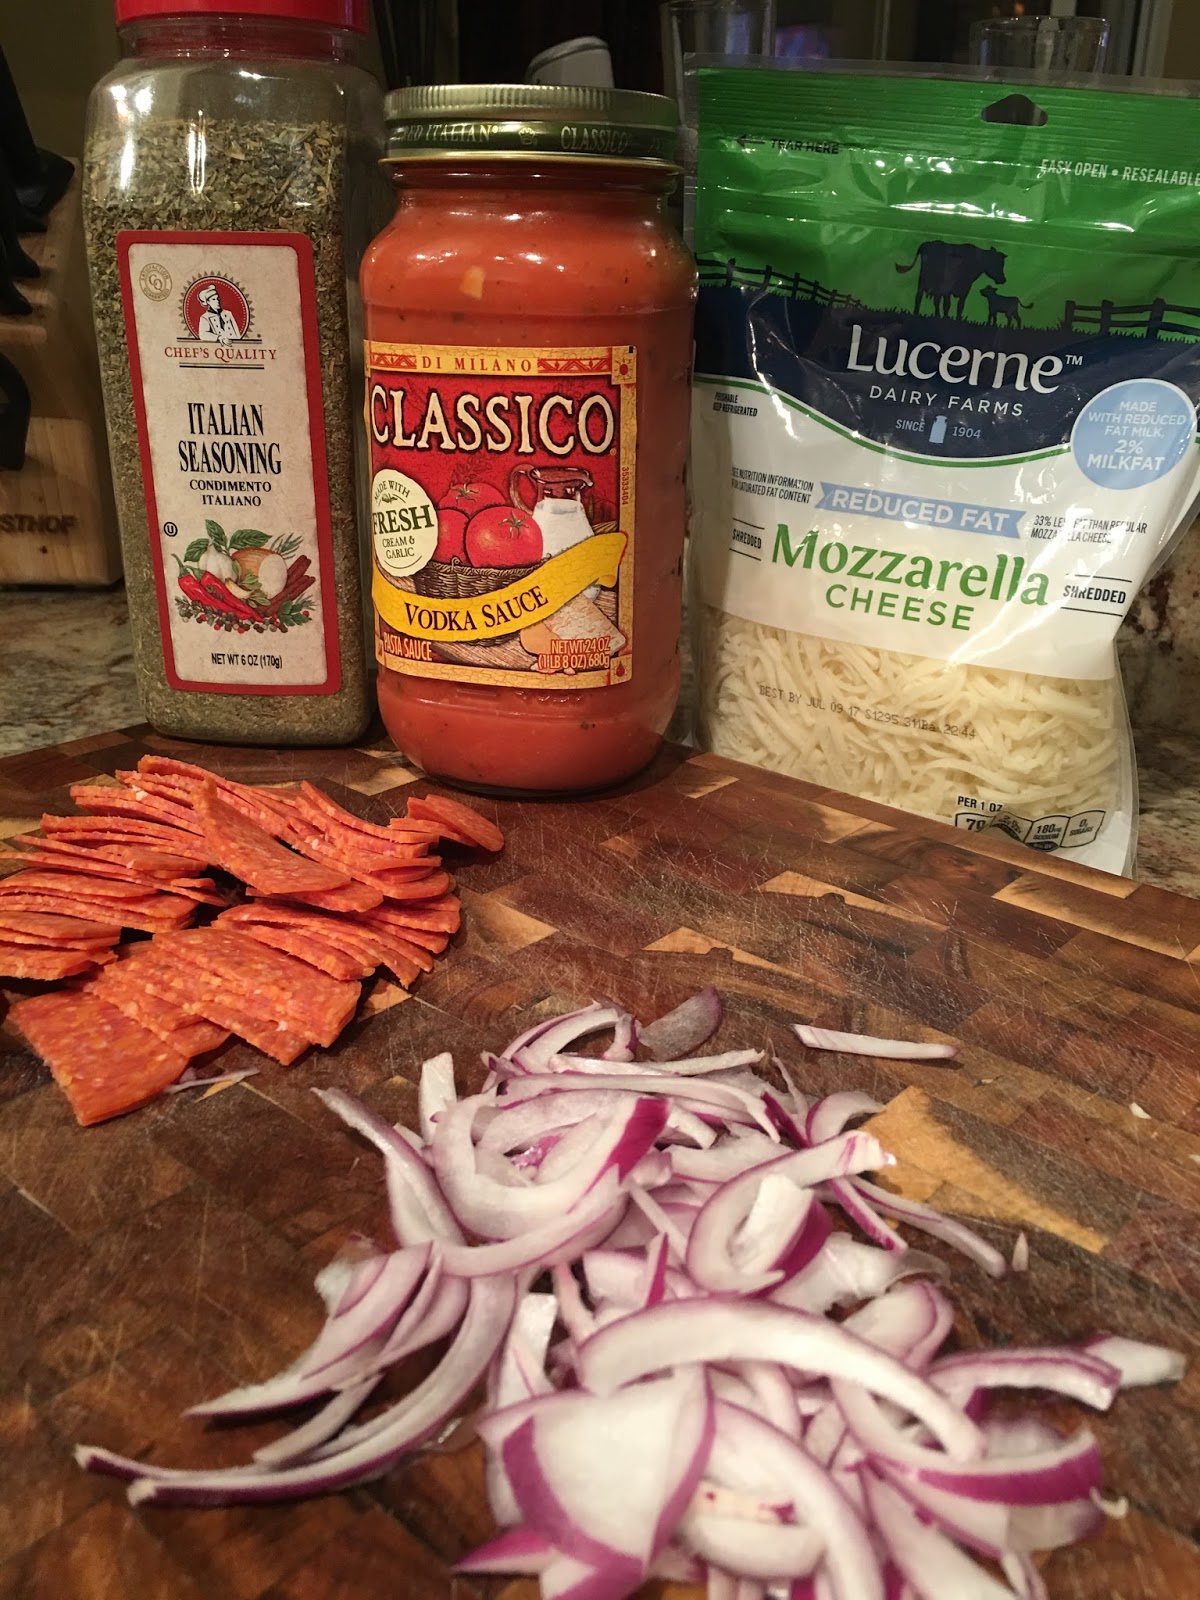
These delicious little beauties are one of my favorite so far, and very easy.  No twenty ingredient shopping list here.  In fact, there are no specific quantities in this recipe.  Pile on as much or as little toppings as you like.  You cant go wrong with a pizza!


The key to having the portobello make a good foundation is hot, fast cooking.  If you leave them in the oven too long, the will be sitting in a puddle of their own juice, and you don't want that.  Just a quick pre-broil with garlic and herbs, then add the toppings and broil again.  It doesn't get easier than that!


One thing I can already say about low carb cooking is, Hallelujah.  Cheese is no longer the enemy!


And don't let the size fool you.  This pizza is filling!  The mushroom is dense, flavorful and meaty.  I promise you won't miss the crust!


Pair the pizza with a good bottle of wine such as this 2013 Chateau Montelena Cabernet (you can afford those carbs) and that's it. 
                                                                                                                                                                                                    
I feel healthier already!


Portobello Pizza


Ingredients:


4 Portobello Mushrooms, washed and dried
Italian Seasoning
basil infused olive oil
minced garlic
salt and pepper

Toppings


Mozarella Cheese
Parmesan Cheese
pepperoni
red onion
green onion
peppers
olives
sausage
parsley
basil

The list goes on...


Directions


Preheat broiler to Low Broil

Place mushrooms gill side up on a rimmed baking sheet and brush both sides with basil infused oil, salt and pepper.  Sprinkle with Italian seasoning and minced garlic and broil 8 -10 minutes.

Remove from oven, add toppings and broil again, another 10 - 15 minutes until cheese is bubbling and browning.  Let them sit a few minutes after broiling to firm up, then enjoy this guilt-free indulgence!


Saturday, February 4, 2017

Ravioli 101


I am not going to lie.  Making homemade ravioli is not for the feint of heart, but if you take on the task and, I promise, it will be well worth the effort. 

It will take an entire day (a conservative estimate), a lot of elbow grease and teamwork - a willing partner is a must, but you will end up with hundreds of these little pillows of yumminess that you can freeze for quick, weeknight dinners in the months to come.

I was fortunate that the day I decided to tackle this endeavor, it was pouring rain outside so I had a captive husband to enlist.


Tip - Crack the eggs one at a time into a small bowl before adding to the mixer.  If you don't, and a piece of shell gets in, you will never get it out.


Running the dough through the roller settings takes a good deal of patience.  Be prepared for it to twist, get crooked, tear, etc.  When this happens, get it back on the counter, fold in into a rectangle, roll it out thin and start over.

Be prepared with plenty of plastic wrap sheets.  You don't want to be running around the kitchen digging for supplies while the dough dries out.  It happens faster than you would imagine!

Be sure to gently push dough into each cavity of the ravioli tray.

Egg wash on the edges ensures that the ravioli won't break open in the boiling water.


I adapted this ravioli dough recipe from the Food Network's Tyler Florence, but I'll tell you, all three times I have made it, the dough has been too dry.  In order to get it to come together and form a ball in the mixer bowl, I had to add extra olive oil as well as a few teaspoons of water.  Still it did not form an actual ball and was a little shaggy, but I was able to knead it up into a good ball on the counter.


Ravioli Dough


3 C all purpose flour
4 eggs + 1 yolk
2 - 3 T basil or sage infused olive oil
1 t salt
water if needed


Directions:


In an electric mixer fitted with a dough hook, combine flour and salt. Add eggs 1 at a time and continue to mix. Drizzle in oil and continue mix until it forms somewhat of a ball. If it is still too dry, add a little more oil or a teaspoon at a time of water until it comes together.  Sprinkle some flour on work surface, knead the dough until elastic and smooth. Wrap the dough in plastic wrap and let it rest for about 30 minutes to allow the gluten to relax.
Prepare ahead by tearing off long pieces of plastic wrap to layer the pasta sheets in so they don't dry out while you are making the next one.


Cut a golf ball size piece of the dough off and immediately wrap the remainder to prevent it from drying out. Dust the counter and dough with flour. Form the dough into a rectangle and flatten it with a rolling pin until it is thin enough to roll through the pasta machine (on setting #1 if Kitchen-aid).  Roll it through 2 or 3 times, at the widest setting. Guide the sheet of dough with the palm of your hand as it emerges from the rollers. Reduce the setting and crank the dough through again, 2 or 3 times. Continue until you are at setting 5 or 6.  Any thinner and the dough may rip when filling. The dough should be about 1/8-inch thick.

Whisk egg yolk in a small bowl with a teaspoon of water.

Dust ravioli tray well with flour.  Lay a pasta sheet on your ravioli tray, carefully pressing the dough into each cavity.  Using two spoons, place a half teaspoon or so of filling into each cavity then brush egg wash between each.  Lay the sheet of pasta over the top, pressing out an air pockets, then roll with a rolling pin.  Invert in a single layer onto plastic wrap lined baking sheet and freeze.  Once individually frozen, transfer raviolis to a freezer storage bag.

Drop frozen ravioli into gently boiling, salted water and boil 10 - 12 minutes.  Carefully remove with a spider or slotted spoon.


Veal Shallot Ravioli Filling


1 T sage infused olive oil
1/2 lb ground veal
2 cloves garlic
2 shallots
1 T fresh chopped parsley
1 t sage
1 t thyme
1 egg
1/2 C ricotta
1/2 C Parmesan
salt and pepper

Directions:


Heat sage infused oil in a deep saute pan.  Brown veal over medium heat, breaking into tiny pieces.  Drain while still slightly pink.  Add shallots, garlic, sage and thyme to meat and saute until veggies are opaque and veal is done.  Let cool.  Scrape meat mixture into a large bowl and mash with fork until somewhat smooth.  Add ricotta, Parmesan and salt and pepper to taste.  Add egg and mix well.


Butternut Squash Maple Ravioli Filling


1 C cubed butternut squash
1/4 c maple syrup
2 T butter
10 sage leaves
1/2 C ricotta
1 egg
1/4 t nutmeg
salt and pepper

Directions:


Preheat oven to 375.  Toss butternut squash with sage infused olive oil, salt and pepper then roast on a rimmed baking sheet, 30 - 45 minutes until starting to caramelize.  Remove from oven and let cool.

While squash is roasting, melt butter in a small sauce pan and add minced sage.  Cook until sage is wilted and butter is starting to brown.

Transfer squash to a bowl, pour in sage butter and mash with a fork until the consistence of mashed potatoes.  Add maple syrup, ricotta, nutmeg and salt and pepper to taste.  Add egg and mix well.


Ricotta Herb Ravioli Filling


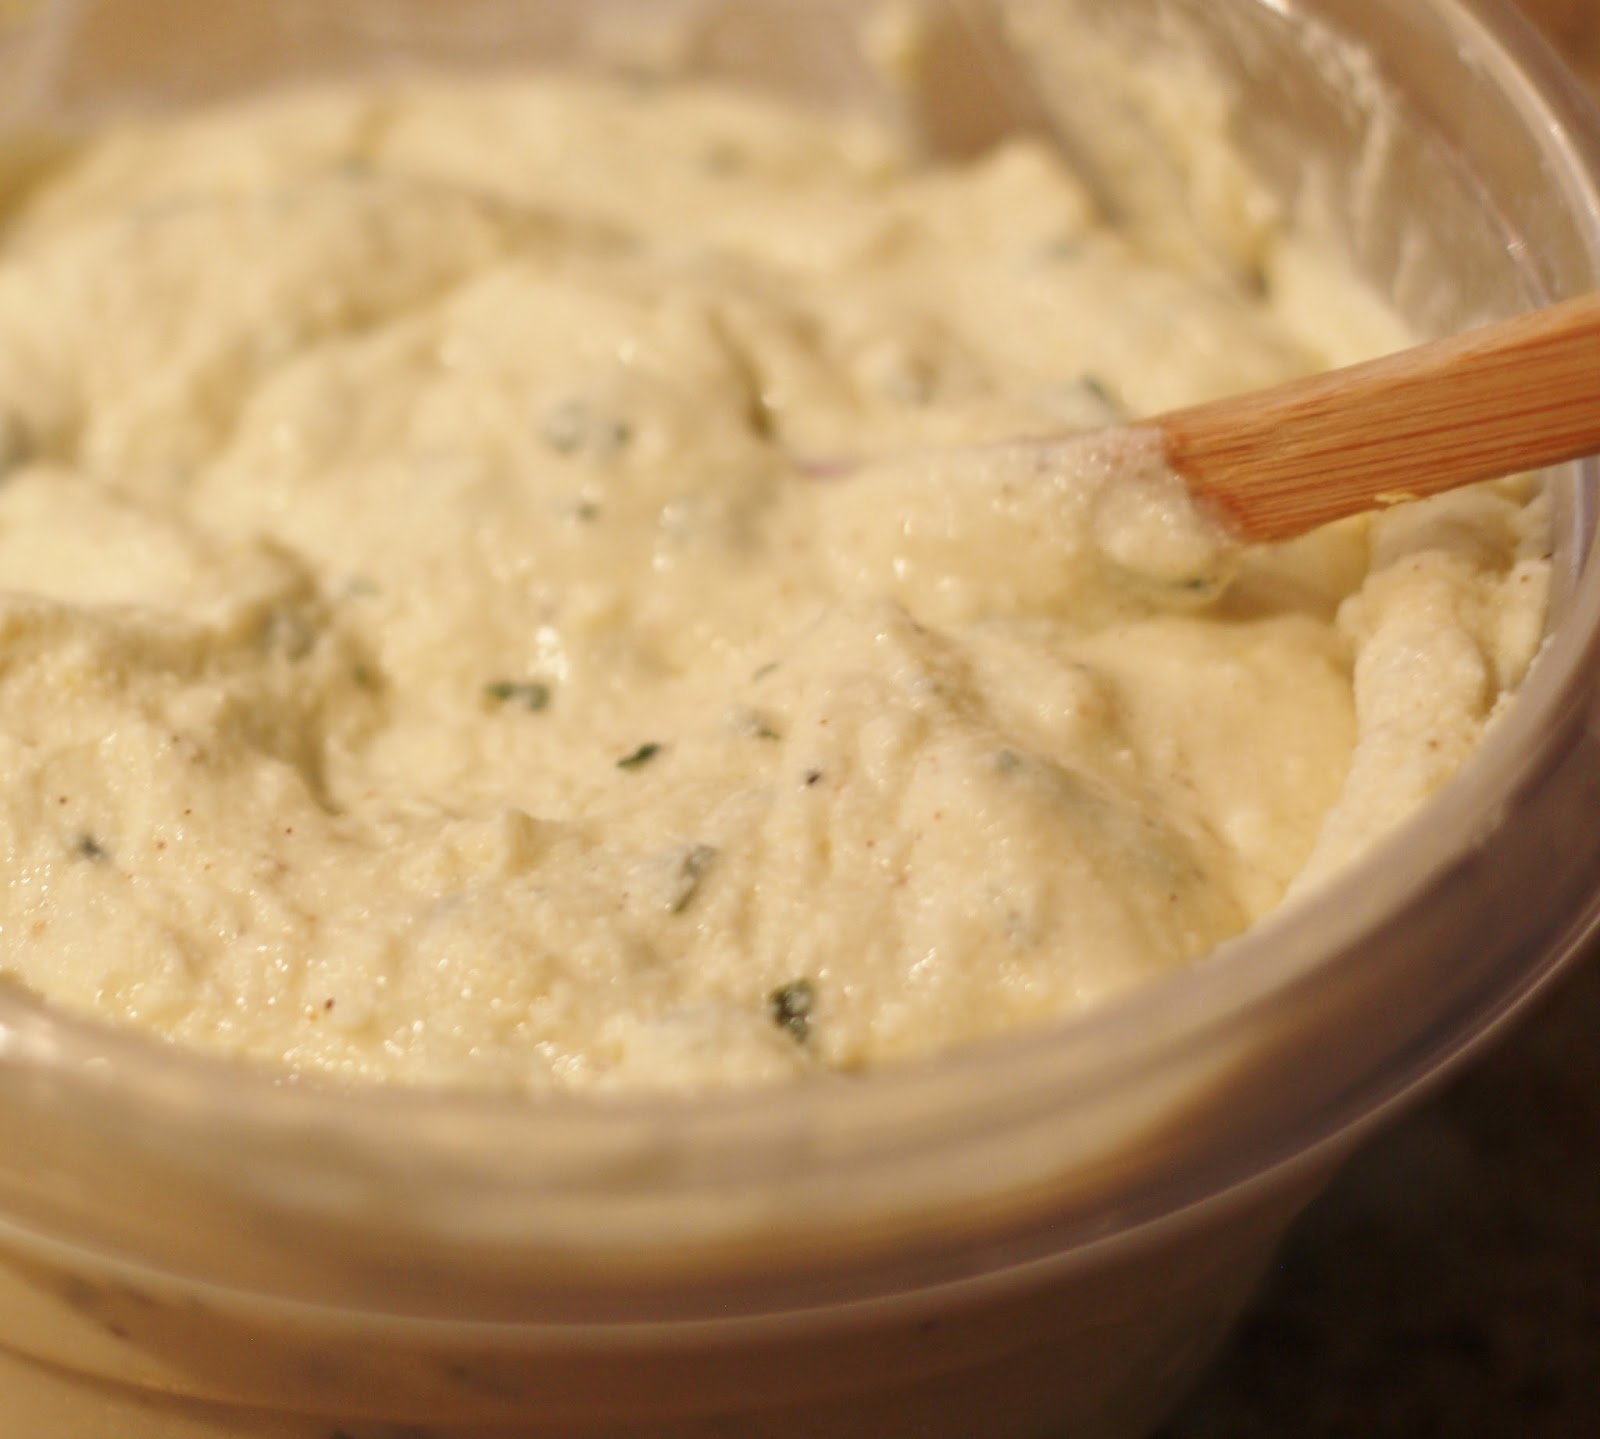
1 C ricotta
1/4 C Parmesan
1/4 C mozzarella
1 T lemon zest
1 t honey
1/4 t nutmeg
2 T minced fresh basil
2 t minced fresh parsley
salt and pepper
1 egg

Directions:


Mix first eight ingredients together then salt and pepper to taste.  Add egg and mix well.


As my beautiful Grandma Marinesi used to say, Mangia, Mangia!


Friday, January 13, 2017

Traditional Bolognese Sauce


Winter has finally arrived, and here in Southern California, that's cause to celebrate.  It's been raining for days and local news stations are reporting that we are officially no longer in a drought.  Woohoo!  That is truly exciting news.


This past weekend was damp and cold, but we took advantage of a short break between rainstorms to host our annual backyard Christmas tree burn.
 .


It's become a friends and family tradition to get together after the holidays for a big Italian dinner, then share a special bottle of dessert wine around a roaring fire.


On this night the special wine was Wilson Creek's Decadencia, made from century-old "Old Vine" Zinfandel with a touch of natural chocolate that makes it even more delectable.


There is something indescribably endearing about gathering around a bonfire.  Something that touches the deepest recesses of our hearts and strengthens our human bond.


With silvery moonlight falling through bare winter branches and wisps of pine-scented smoke drifting above, the best of memories are made.


This year's burn was a little more colorful than others thanks to Mystical Fire.  Gotta love those Groupon deals!


 .
Thanks to the wintry weather of late, I've spent quite a bit of time indoors lately, and when cooped up on a rainy day, my first thought is always, let's make a pot of sauce.

How many recipes can sit on the stove for hours, perfuming the house with a mouthwatering aroma, and just get better and better the longer it cooks?  This Bolognese is one of my favorite recipes.  It's fantastic on its own over any number of pastas or as an accompaniment to stuffed shells, manicotti, ravioli, lasagna...

I use three different meats in mine because that's how my Grandma Marinesi did it, but you can you use whatever meat you prefer.


In recent years grocery stores have really stepped up their game when it comes to imported foods.  Items I could only find at Italian stores are now regular stock on the International aisle of my local market.  And - in my opinion they are worth seeking out.  Using San Marzano tomatoes does make a difference.


I always start with my usual blend of mushrooms, onions, carrots, celery and garlic, but I have been known to add a little red bell pepper if I have one lying around.  It just adds extra sweetness.


 .
The key to this recipe is to take your time in between steps.  Don't rush it. The longer this simmers on the stove, the richer and silkier it becomes.

Let each liquid cook down and reduce for a good half hour before adding the next ingredient.  Layers of flavor take time to develop.


. 

A garnish of fresh basil is the perfect bright, spicy compliment to the richness of the sauce.


Traditional Bolognese Sauce


Ingredients


1 lb ground veal
1 lb ground beef
1 lb ground pork
2 t kosher salt
black pepper
1 t sugar
1/4 t nutmeg
1 t red pepper flakes
1 t dried thyme
1 T oregano
3 carrots
3 celery stalks
1 lb mushrooms
1 onion
10 garlic cloves
2 T basil olive oil
2 T butter
2 C heavy cream or milk
2 C white wine
1 C sherry
1 t tomato paste
2 - 28 oz cans crushed San Marzano tomatoes
2 - 28 oz cans diced San Marzano tomatoes with basil

Directions


Heat 2 T basil olive oil in a large pot on medium high.  Add meat, red pepper flakes thyme and a few grinds of black pepper, and brown, breaking into small pieces.  Once meat is almost done, remove to a bowl with a slotted spoon.  Discard fat from pot.

Melt 2 T butter in the same pot with 1 t tomato paste.  Add finely chopped vegetables and saute over medium high heat until soft.  Add meat, oregano, sugar, nutmeg and salt, blending well with a wooden spoon.

Add cream or milk and increase heat to bring to a boil, then reduce heat slightly to gently boil for 30 - 40 minutes.

Add wine and sherry.  Again increase heat to a boil, then reduce slightly to a gentle boil for 30 - 40 minutes, cooking down the liquids to intensify the flavors.

Add the canned tomatoes and once again, bring to a boil, then reduce to a simmer and that's it. Let this sauce simmer on the stove all day long - at least 4 - 5 hours, stirring occasionally.  If the sauce ends up thicker than you like, add a splash of chicken broth and simmer again.

This a big batch so be sure to freeze some.

This sauce is fantastic over any pasta, ravioli and even to make lasagna with.

Top with Parmesan, Romano, basil, parsley...