I am not going to lie. Making homemade ravioli is not for the feint of heart, but if you take on the task and, I promise, it will be well worth the effort.
It will take an entire day (a conservative estimate), a lot of elbow grease and teamwork - a willing partner is a must, but you will end up with hundreds of these little pillows of yumminess that you can freeze for quick, weeknight dinners in the months to come.
I was fortunate that the day I decided to tackle this endeavor, it was pouring rain outside so I had a captive husband to enlist.


|
| Tip - Crack the eggs one at a time into a small bowl before adding to the mixer. If you don't, and a piece of shell gets in, you will never get it out. |


|
| Running the dough through the roller settings takes a good deal of patience. Be prepared for it to twist, get crooked, tear, etc. When this happens, get it back on the counter, fold in into a rectangle, roll it out thin and start over. |

|
| Be prepared with plenty of plastic wrap sheets. You don't want to be running around the kitchen digging for supplies while the dough dries out. It happens faster than you would imagine! |

|
| Be sure to gently push dough into each cavity of the ravioli tray. |

|
| Egg wash on the edges ensures that the ravioli won't break open in the boiling water. |


I adapted this ravioli dough recipe from the Food Network's Tyler Florence, but I'll tell you, all three times I have made it, the dough has been too dry. In order to get it to come together and form a ball in the mixer bowl, I had to add extra olive oil as well as a few teaspoons of water. Still it did not form an actual ball and was a little shaggy, but I was able to knead it up into a good ball on the counter.
Ravioli Dough
3 C all purpose flour
4 eggs + 1 yolk
2 - 3 T basil or sage infused olive oil
1 t salt
water if needed
Directions:
In an electric mixer fitted with a dough hook, combine flour and salt. Add eggs 1 at a time and continue to mix. Drizzle in oil and continue mix until it forms somewhat of a ball. If it is still too dry, add a little more oil or a teaspoon at a time of water until it comes together. Sprinkle some flour on work surface, knead the dough until elastic and smooth. Wrap the dough in plastic wrap and let it rest for about 30 minutes to allow the gluten to relax.
Prepare ahead by tearing off long pieces of plastic wrap to layer the pasta
sheets in so they don't dry out while you are making the next one.
Cut a golf ball size piece of the dough off and immediately wrap the remainder to prevent it from drying out. Dust the counter and dough with flour. Form the dough into a rectangle and flatten it with a rolling pin until it is thin enough to roll through the pasta machine (on setting #1 if Kitchen-aid). Roll it through 2 or 3 times, at the widest setting. Guide the sheet of dough with the palm of your hand as it emerges from the rollers. Reduce the setting and crank the dough through again, 2 or 3 times. Continue until you are at setting 5 or 6. Any thinner and the dough may rip when filling. The dough should be about 1/8-inch thick.
Whisk egg yolk in a small bowl with a teaspoon of water.
Dust ravioli tray well with flour. Lay a pasta sheet on your ravioli
tray, carefully pressing the dough into each cavity. Using two spoons,
place a half teaspoon or so of filling into each cavity then brush egg wash
between each. Lay the sheet of pasta over the top, pressing out an air
pockets, then roll with a rolling pin. Invert in a single layer onto
plastic wrap lined baking sheet and freeze. Once individually frozen,
transfer raviolis to a freezer storage bag.
Drop frozen ravioli into gently boiling, salted water and boil 10 - 12 minutes. Carefully remove with a spider or slotted spoon.
Drop frozen ravioli into gently boiling, salted water and boil 10 - 12 minutes. Carefully remove with a spider or slotted spoon.

Veal Shallot Ravioli Filling
1 T sage infused olive oil
1/2 lb ground veal
2 cloves garlic
2 shallots
1 T fresh chopped parsley
1 t sage
1 t thyme
1 egg
1/2 C ricotta
1/2 C Parmesan
salt and pepper
Directions:
Heat sage infused oil in a deep saute pan. Brown veal over medium heat, breaking into tiny pieces. Drain while still slightly pink. Add shallots, garlic, sage and thyme to meat and saute until veggies are opaque and veal is done. Let cool. Scrape meat mixture into a large bowl and mash with fork until somewhat smooth. Add ricotta, Parmesan and salt and pepper to taste. Add egg and mix well.


Butternut Squash Maple Ravioli Filling
1 C cubed butternut squash
1/4 c maple syrup
2 T butter
10 sage leaves
1/2 C ricotta
1 egg
1/4 t nutmeg
salt and pepper
Directions:
Preheat oven to 375. Toss butternut squash with sage infused olive oil, salt and pepper then roast on a rimmed baking sheet, 30 - 45 minutes until starting to caramelize. Remove from oven and let cool.
While squash is roasting, melt butter in a small sauce pan and add minced sage. Cook until sage is wilted and butter is starting to brown.
Transfer squash to a bowl, pour in sage butter and mash with a fork until the consistence of mashed potatoes. Add maple syrup, ricotta, nutmeg and salt and pepper to taste. Add egg and mix well.


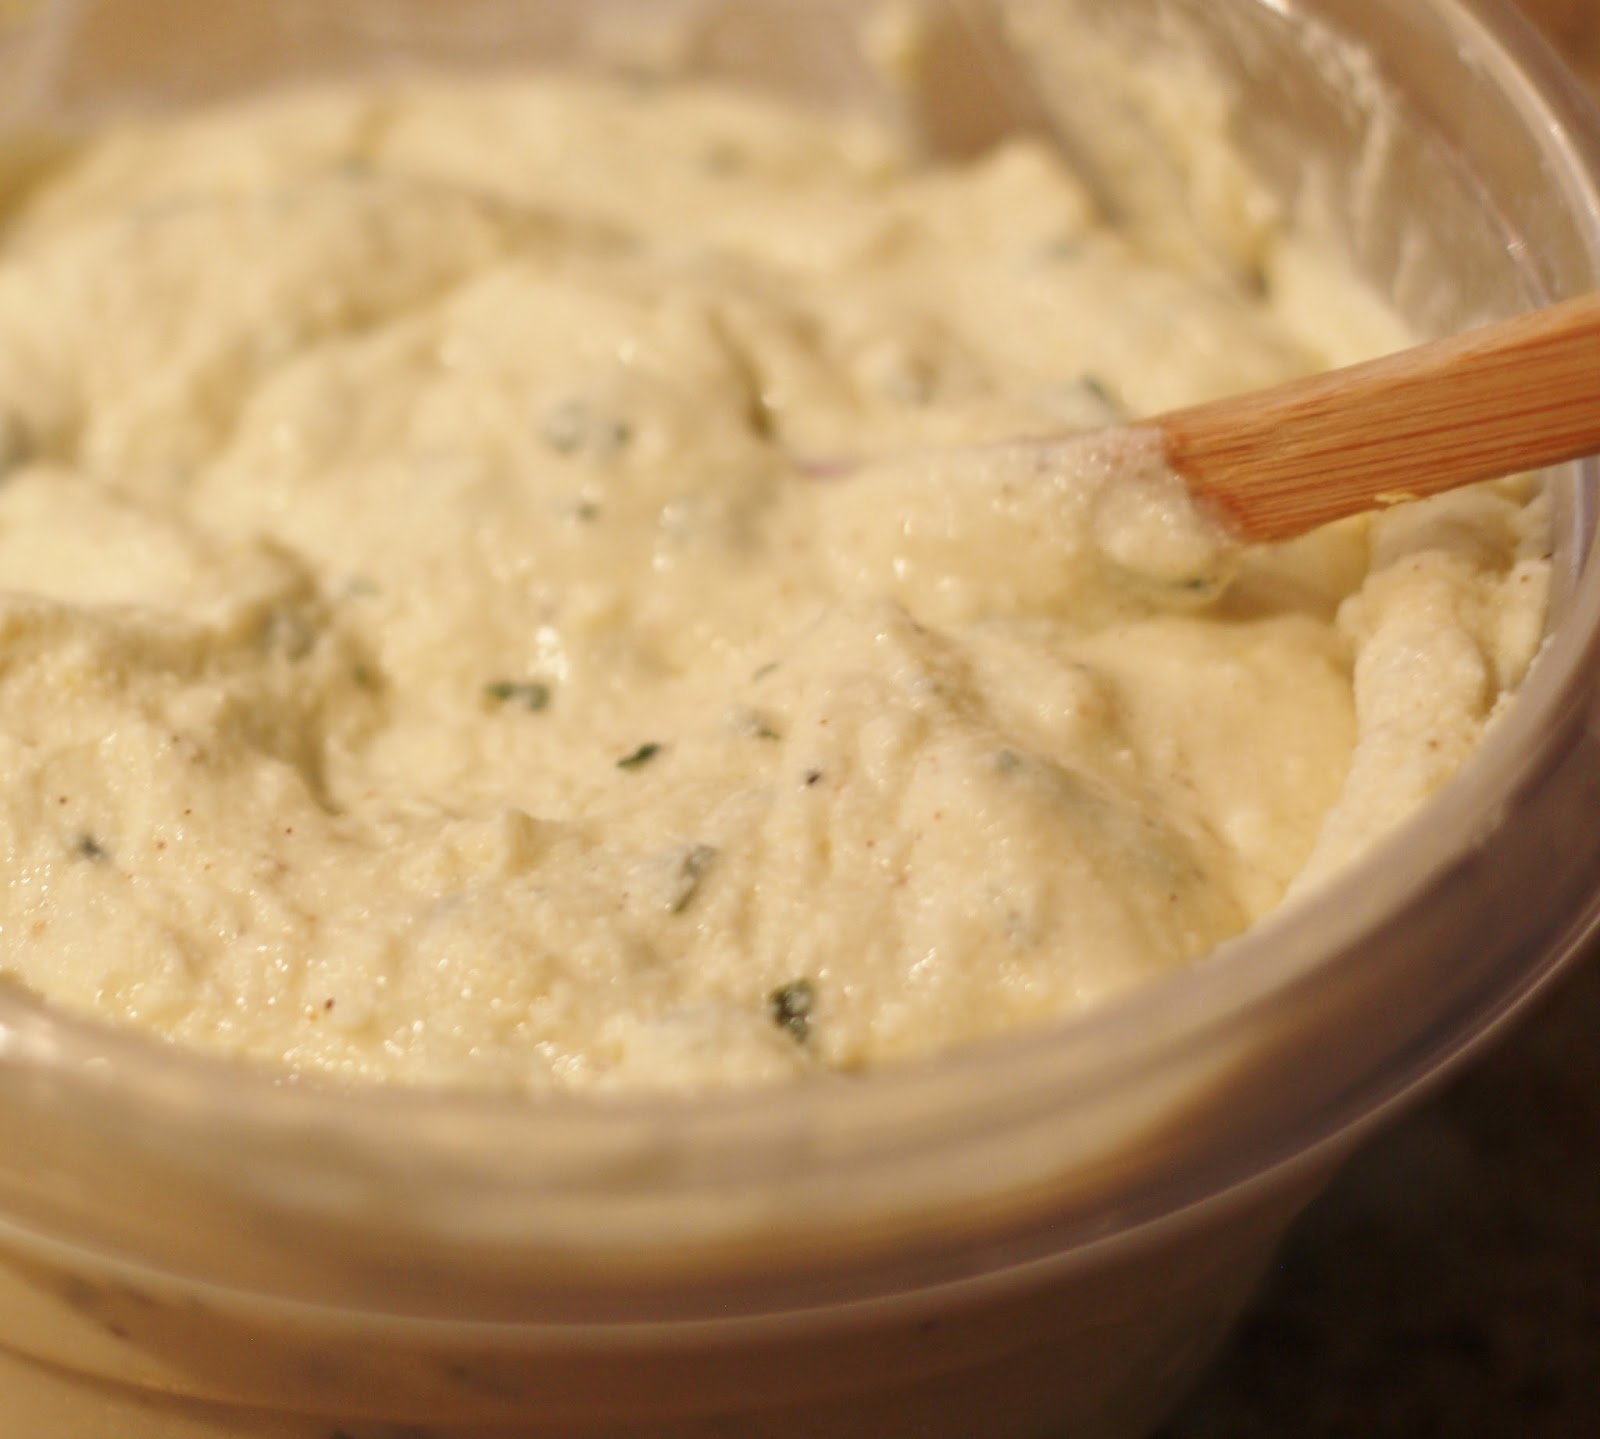
Ricotta Herb Ravioli Filling
1 C ricotta
1/4 C Parmesan
1/4 C mozzarella
1 T lemon zest
1 t honey
1/4 t nutmeg
2 T minced fresh basil
2 t minced fresh parsley
salt and pepper
1 egg
Directions:
Mix first eight ingredients together then salt and pepper to taste. Add egg and mix well.

As my beautiful Grandma Marinesi used to say, Mangia, Mangia!