Cucina Valentina

Cucina Valentina

Friday, April 7, 2017

Enchilada Stuffed Zucchini


In this foodie realm that we all revolve in, something recently happened to me that I feel bears mentioning.

If you are following this blog you know that I am an Italian girl who loves to cook, loves animals, nature, photography, bird-watching and also boating. I subscribe to multiple food magazines, record most of the cooking shows and belong to several cooking/food/recipe sharing Facebook groups. Yesterday,on one of these Facebook groups, something disturbing took place.

I had just posted a photo of last night's dinner dish, lemon shrimp with roasted asparagus, and commented that it contained no fat, no sugar, as spring is already upon us and I am trying to lighten up our fare.  In the post I also mentioned the word, DIET.

Holy hell! 


Utter chaos ensued. Little did I know that the mere mention of the word could send readers over edge with pent up hostility.  About a second later I was admonished in a comment and warned that my choice of words was insensitive and constituted body shaming. I was asked to remove the "offensive" word from my post.

Censorship? I'm sorry, but no. I would rather leave the group than edit my post. So I did.

Body Shaming? Really? I am no skinny-minnie, and never have been. I love food, cocktails and wine. More often than not, I lack self-discipline. I would never body shame anyone. I was simply posting my life experience, which includes getting ready for summer, which means it is time to put on the (be forewarned; here comes another utterly offensive word) ... bikini.

Deep down I believe everyone desires a healthy body, so regardless of those who disapprove, I will continue to lighten up my recipes for spring and hope my audience appreciates it. This doesn't mean that come next fall there won't be plenty of hearty shepherd's pies and cheesy potato dishes, it just means that for now, I'm going easy on the calories. And really, what could it hurt?


I will give you a great tip. When you are trying to reduce your fat intake, fat free chicken broth, unsweetened cashew milk and non-fat Greek yogurt are your best friends. You can dry saute any vegetable or meat, and when it starts to brown, deglaze with the chicken broth. I promise that in the end result, you will not miss the butter.


I use the cashew milk anytime I would normally reach for the heavy cream.  It is the perfect way to finish a sauce and achieve a rich, satisfying end result.

Non fat Greek yogurt (I use Fage) is a great substitute for mayonnaise and/or sour cream in dressings and dips.  You literally cannot tell the difference.


Enchilada Stuffed Zucchini 


Ingredients 


4 large zucchini
1 6oz can enchilada sauce
I T Garlic Infused Olive Oil
1 lb ground turkey or diced chicken breast or thigh
1 large shallot
1/2 red bell pepper
2 jalapenos
5 cloves garlic
1/4 t Chef Merito fajita seasoning
1 t chioptle chili powder
1 t cumin
1 t oregano (or 1 T fresh chopped)
1/2 C fat free chicken broth
1/2 C cheese
1 avocado, sliced
4 T cilantro (rough chopped)
2 T scallions (minced)


 Directions 


Heat oven to 400 degrees.

Scoop out zucchini flesh with a melon baller. Place zucchini shells on a rimmed baking sheet and bake 10-15 minutes.  Rough chop zucchini flesh.

Meanwhile, heat Garlic Infused Olive Oil in a medium skillet, then brown the chicken or ground turkey with chopped shallot, garlic, red bell pepper, zucchini flesh, jalapeno and seasonings.  Drain fat.  Cook over medium high heat until turkey begins to brown, then add chicken broth and let simmer until thick.

Pour half the enchilada sauce into a rectangle baking dish. Lay the zucchini in the dish, top with meat mixture then drizzle remaining enchilada sauce on top. Sprinkle with cheese of your choice, cheddar, jack, feta, cotija... then bake at 400 for 30-40 minutes.

Let rest for 10 minutes once out of the oven. Drizzle with lemon Chipotle Crema, top with sliced avocado and a sprinkling of cilantro and scallions.

Lemon-Chipotle Crema


Ingredients


1/2 C Fage non-fat Greek yogurt
1/2 C mayonnaise
1 - 4 T Cashew Milk
1 t honey
Juice and zest of 1 lemon
1/2 t chipotle chili powder
salt and pepper to taste  

Whisk all ingredients until well blended.

I keep this crema in a plastic squeeze bottle in the refrigerator.  If it's too thick, thin with a little more milk.


Friday, March 10, 2017

Cucumber Jalapeno Margaritas


Happy Friday!

Time for a Margarita, and this one is well deserved. 

Today I dove head first into Sea Salt production for my Cucina Valentina Etsy store, determined to add a variety of infused Sea Salts to my Kitchen Essentials line.  Two of my favorite flavors are smoky chipotle and bright, zesty lime.  I may be Italian, but, oh, how I love my Mexican food.  I can think of dozens of ways to use a chipotle lime salt - and I intend to share them all right here.

I soon discovered that this endeavor is extremely labor intensive.  There's the zesting and the squeezing, then the low-temp baking and then the grinding... 

The end result is amazing, and I'm not complaining, but after zesting a literal bushel of limes, I am ready for a refreshing libation!


This is a truly delicious margarita, as the cucumber gives it a burst of freshness and the jalapeno, the perfect kick.  Thank you to Michael Symon for the inspiration.


Cheers!


Cucumber Jalapeno Margaritas


Ingredients:


1/2 C fresh squeezed lime juice
1/2 C Tequila
1/4 C Grand Marnier
1/4 C agave nectar

Jalapeno and cucumber, thin sliced

Chipotle Lime Sea Salt

Directions:


Wet rim of glasses with a lime wedge then dip and roll into a shallow plate of chipotle salt until rim is coated.

Combine the first four ingredients in an ice filled shaker and shake vigerously.  Strain into glasses and garnish with cucumber and jalapeno.

For stronger cucumber/jalapeno flavor, mix all ingredients in a pitcher and refrigerate at least an hour before serving.

Serves 2 large or 4 small


Adapted from Michael Symon - Food Network


Thursday, March 9, 2017

Portobello Pizza


Hi Friends,

In case you haven't noticed, I have been off the radar for several weeks due to two significant life events, my birthday, and ... wait for it   

My mini kitchen renovation!

Well, the birthday, not so much a life event.  At this stage I would rather do without them, but whatever.  It's just a number, right?

And the mini reno, well, it was actually just having my kitchen cabinets painted.  I know it probably doesn't sound that dramatic, but let me tell you, the difference is immeasurable!  We bought our home 26 years ago, when honey oak was in style.  If you watch HGTV you know that when it comes to kitchens, white is in.  White quartz counters, white Shaker cabinets, whitewashed floors...

While this was not my reasoning for going light, (when it comes to trends, I'm always at least one behind) I felt that going dark would make an already small kitchen feel even smaller, so I went with a cream, Swiss Coffee to be exact, and I have to say, I love it!  Typhoon Bordeaux granite counters that seemed to get lost amidst that orangy oak, now really stand out.


Before


After


As soon as the kitchen was done, off we went to the lake house to celebrate, which, even though it's the dead of winter, made me realize that spring is almost upon us and with it - bikini season.

Yes, I said it.

If anyone understands what this means, it is you, my audience.  Five months of homemade pastas, cheesecakes, carnitas tacos and shepherd's pies. has taken a toll.  It's time to lighten up, so I have decided to go low carb for awhile, and see if it really works.

There are a plethora of low carb recipes out there, so I have stockpiled what look like the best and intend to try them all during the month of March - and beyond.


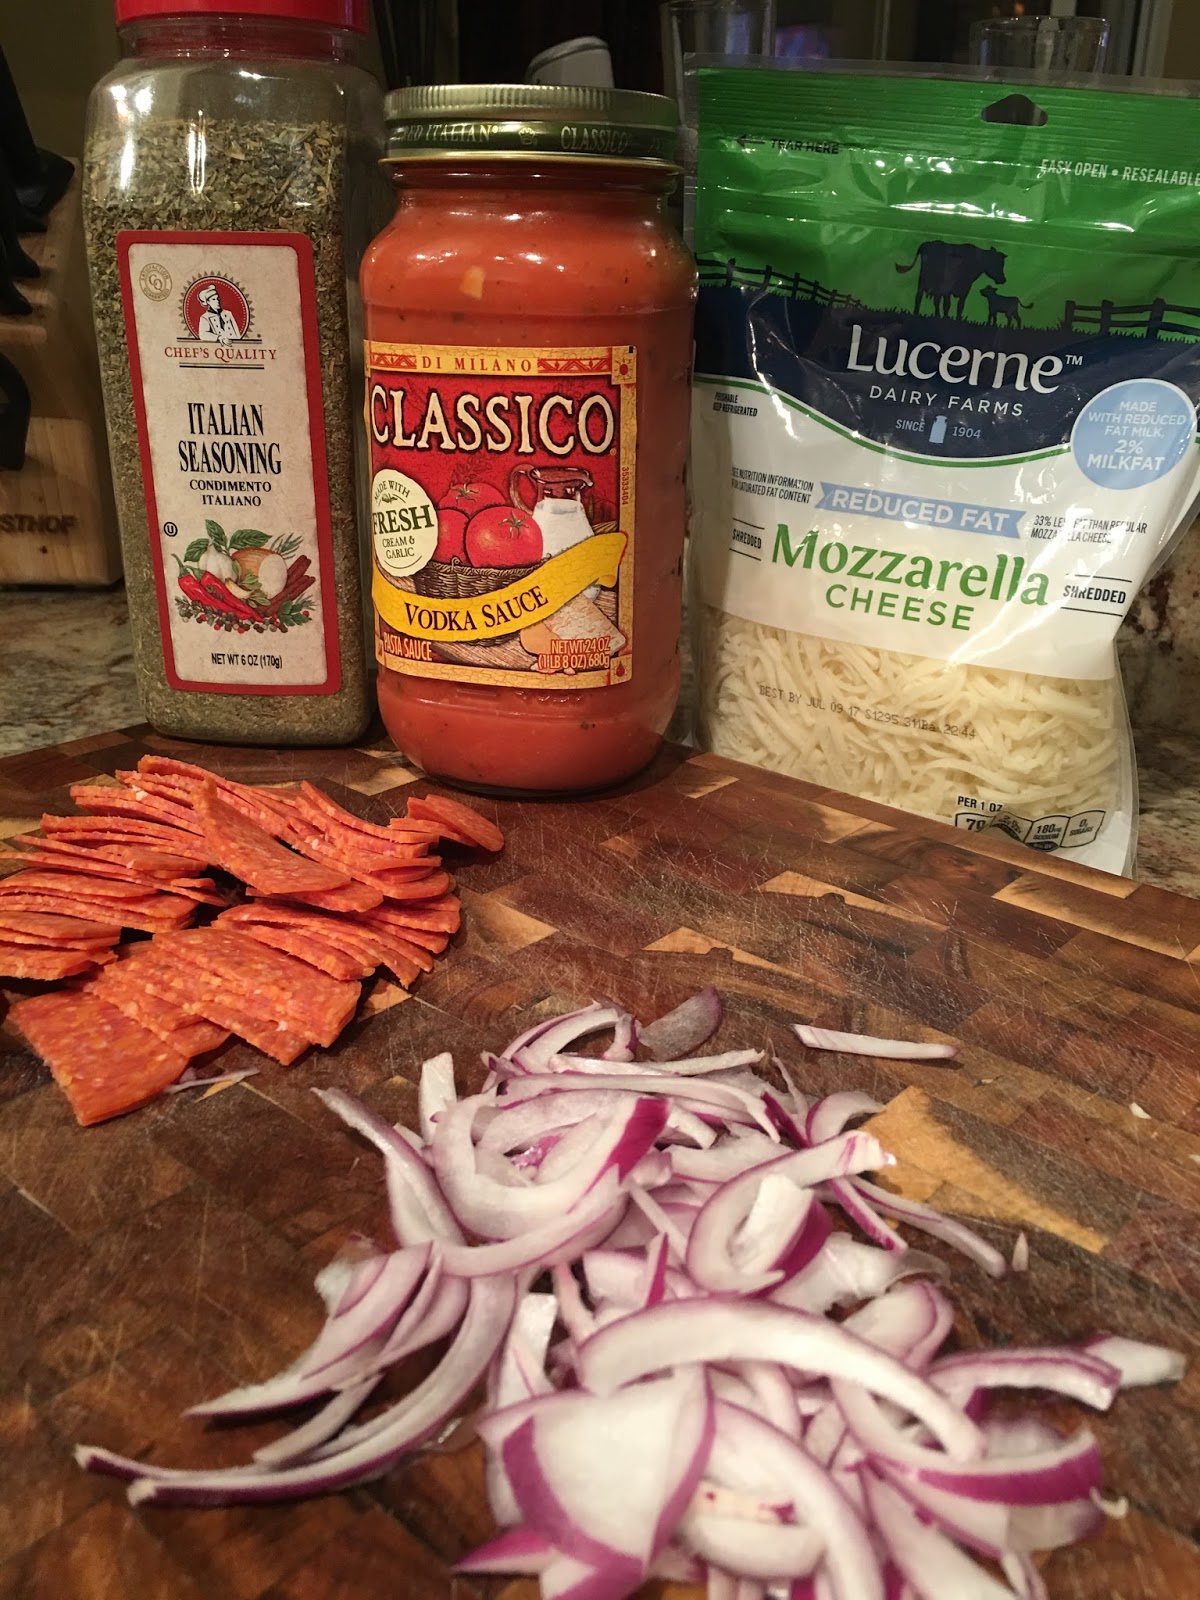
These delicious little beauties are one of my favorite so far, and very easy.  No twenty ingredient shopping list here.  In fact, there are no specific quantities in this recipe.  Pile on as much or as little toppings as you like.  You cant go wrong with a pizza!


The key to having the portobello make a good foundation is hot, fast cooking.  If you leave them in the oven too long, the will be sitting in a puddle of their own juice, and you don't want that.  Just a quick pre-broil with garlic and herbs, then add the toppings and broil again.  It doesn't get easier than that!


One thing I can already say about low carb cooking is, Hallelujah.  Cheese is no longer the enemy!


And don't let the size fool you.  This pizza is filling!  The mushroom is dense, flavorful and meaty.  I promise you won't miss the crust!


Pair the pizza with a good bottle of wine such as this 2013 Chateau Montelena Cabernet (you can afford those carbs) and that's it. 
                                                                                                                                                                                                    
I feel healthier already!


Portobello Pizza


Ingredients:


4 Portobello Mushrooms, washed and dried
Italian Seasoning
basil infused olive oil
minced garlic
salt and pepper

Toppings


Mozarella Cheese
Parmesan Cheese
pepperoni
red onion
green onion
peppers
olives
sausage
parsley
basil

The list goes on...


Directions


Preheat broiler to Low Broil

Place mushrooms gill side up on a rimmed baking sheet and brush both sides with basil infused oil, salt and pepper.  Sprinkle with Italian seasoning and minced garlic and broil 8 -10 minutes.

Remove from oven, add toppings and broil again, another 10 - 15 minutes until cheese is bubbling and browning.  Let them sit a few minutes after broiling to firm up, then enjoy this guilt-free indulgence!


Saturday, February 4, 2017

Ravioli 101


I am not going to lie.  Making homemade ravioli is not for the feint of heart, but if you take on the task and, I promise, it will be well worth the effort. 

It will take an entire day (a conservative estimate), a lot of elbow grease and teamwork - a willing partner is a must, but you will end up with hundreds of these little pillows of yumminess that you can freeze for quick, weeknight dinners in the months to come.

I was fortunate that the day I decided to tackle this endeavor, it was pouring rain outside so I had a captive husband to enlist.


Tip - Crack the eggs one at a time into a small bowl before adding to the mixer.  If you don't, and a piece of shell gets in, you will never get it out.


Running the dough through the roller settings takes a good deal of patience.  Be prepared for it to twist, get crooked, tear, etc.  When this happens, get it back on the counter, fold in into a rectangle, roll it out thin and start over.

Be prepared with plenty of plastic wrap sheets.  You don't want to be running around the kitchen digging for supplies while the dough dries out.  It happens faster than you would imagine!

Be sure to gently push dough into each cavity of the ravioli tray.

Egg wash on the edges ensures that the ravioli won't break open in the boiling water.


I adapted this ravioli dough recipe from the Food Network's Tyler Florence, but I'll tell you, all three times I have made it, the dough has been too dry.  In order to get it to come together and form a ball in the mixer bowl, I had to add extra olive oil as well as a few teaspoons of water.  Still it did not form an actual ball and was a little shaggy, but I was able to knead it up into a good ball on the counter.


Ravioli Dough


3 C all purpose flour
4 eggs + 1 yolk
2 - 3 T basil or sage infused olive oil
1 t salt
water if needed


Directions:


In an electric mixer fitted with a dough hook, combine flour and salt. Add eggs 1 at a time and continue to mix. Drizzle in oil and continue mix until it forms somewhat of a ball. If it is still too dry, add a little more oil or a teaspoon at a time of water until it comes together.  Sprinkle some flour on work surface, knead the dough until elastic and smooth. Wrap the dough in plastic wrap and let it rest for about 30 minutes to allow the gluten to relax.
Prepare ahead by tearing off long pieces of plastic wrap to layer the pasta sheets in so they don't dry out while you are making the next one.


Cut a golf ball size piece of the dough off and immediately wrap the remainder to prevent it from drying out. Dust the counter and dough with flour. Form the dough into a rectangle and flatten it with a rolling pin until it is thin enough to roll through the pasta machine (on setting #1 if Kitchen-aid).  Roll it through 2 or 3 times, at the widest setting. Guide the sheet of dough with the palm of your hand as it emerges from the rollers. Reduce the setting and crank the dough through again, 2 or 3 times. Continue until you are at setting 5 or 6.  Any thinner and the dough may rip when filling. The dough should be about 1/8-inch thick.

Whisk egg yolk in a small bowl with a teaspoon of water.

Dust ravioli tray well with flour.  Lay a pasta sheet on your ravioli tray, carefully pressing the dough into each cavity.  Using two spoons, place a half teaspoon or so of filling into each cavity then brush egg wash between each.  Lay the sheet of pasta over the top, pressing out an air pockets, then roll with a rolling pin.  Invert in a single layer onto plastic wrap lined baking sheet and freeze.  Once individually frozen, transfer raviolis to a freezer storage bag.

Drop frozen ravioli into gently boiling, salted water and boil 10 - 12 minutes.  Carefully remove with a spider or slotted spoon.


Veal Shallot Ravioli Filling


1 T sage infused olive oil
1/2 lb ground veal
2 cloves garlic
2 shallots
1 T fresh chopped parsley
1 t sage
1 t thyme
1 egg
1/2 C ricotta
1/2 C Parmesan
salt and pepper

Directions:


Heat sage infused oil in a deep saute pan.  Brown veal over medium heat, breaking into tiny pieces.  Drain while still slightly pink.  Add shallots, garlic, sage and thyme to meat and saute until veggies are opaque and veal is done.  Let cool.  Scrape meat mixture into a large bowl and mash with fork until somewhat smooth.  Add ricotta, Parmesan and salt and pepper to taste.  Add egg and mix well.


Butternut Squash Maple Ravioli Filling


1 C cubed butternut squash
1/4 c maple syrup
2 T butter
10 sage leaves
1/2 C ricotta
1 egg
1/4 t nutmeg
salt and pepper

Directions:


Preheat oven to 375.  Toss butternut squash with sage infused olive oil, salt and pepper then roast on a rimmed baking sheet, 30 - 45 minutes until starting to caramelize.  Remove from oven and let cool.

While squash is roasting, melt butter in a small sauce pan and add minced sage.  Cook until sage is wilted and butter is starting to brown.

Transfer squash to a bowl, pour in sage butter and mash with a fork until the consistence of mashed potatoes.  Add maple syrup, ricotta, nutmeg and salt and pepper to taste.  Add egg and mix well.


Ricotta Herb Ravioli Filling


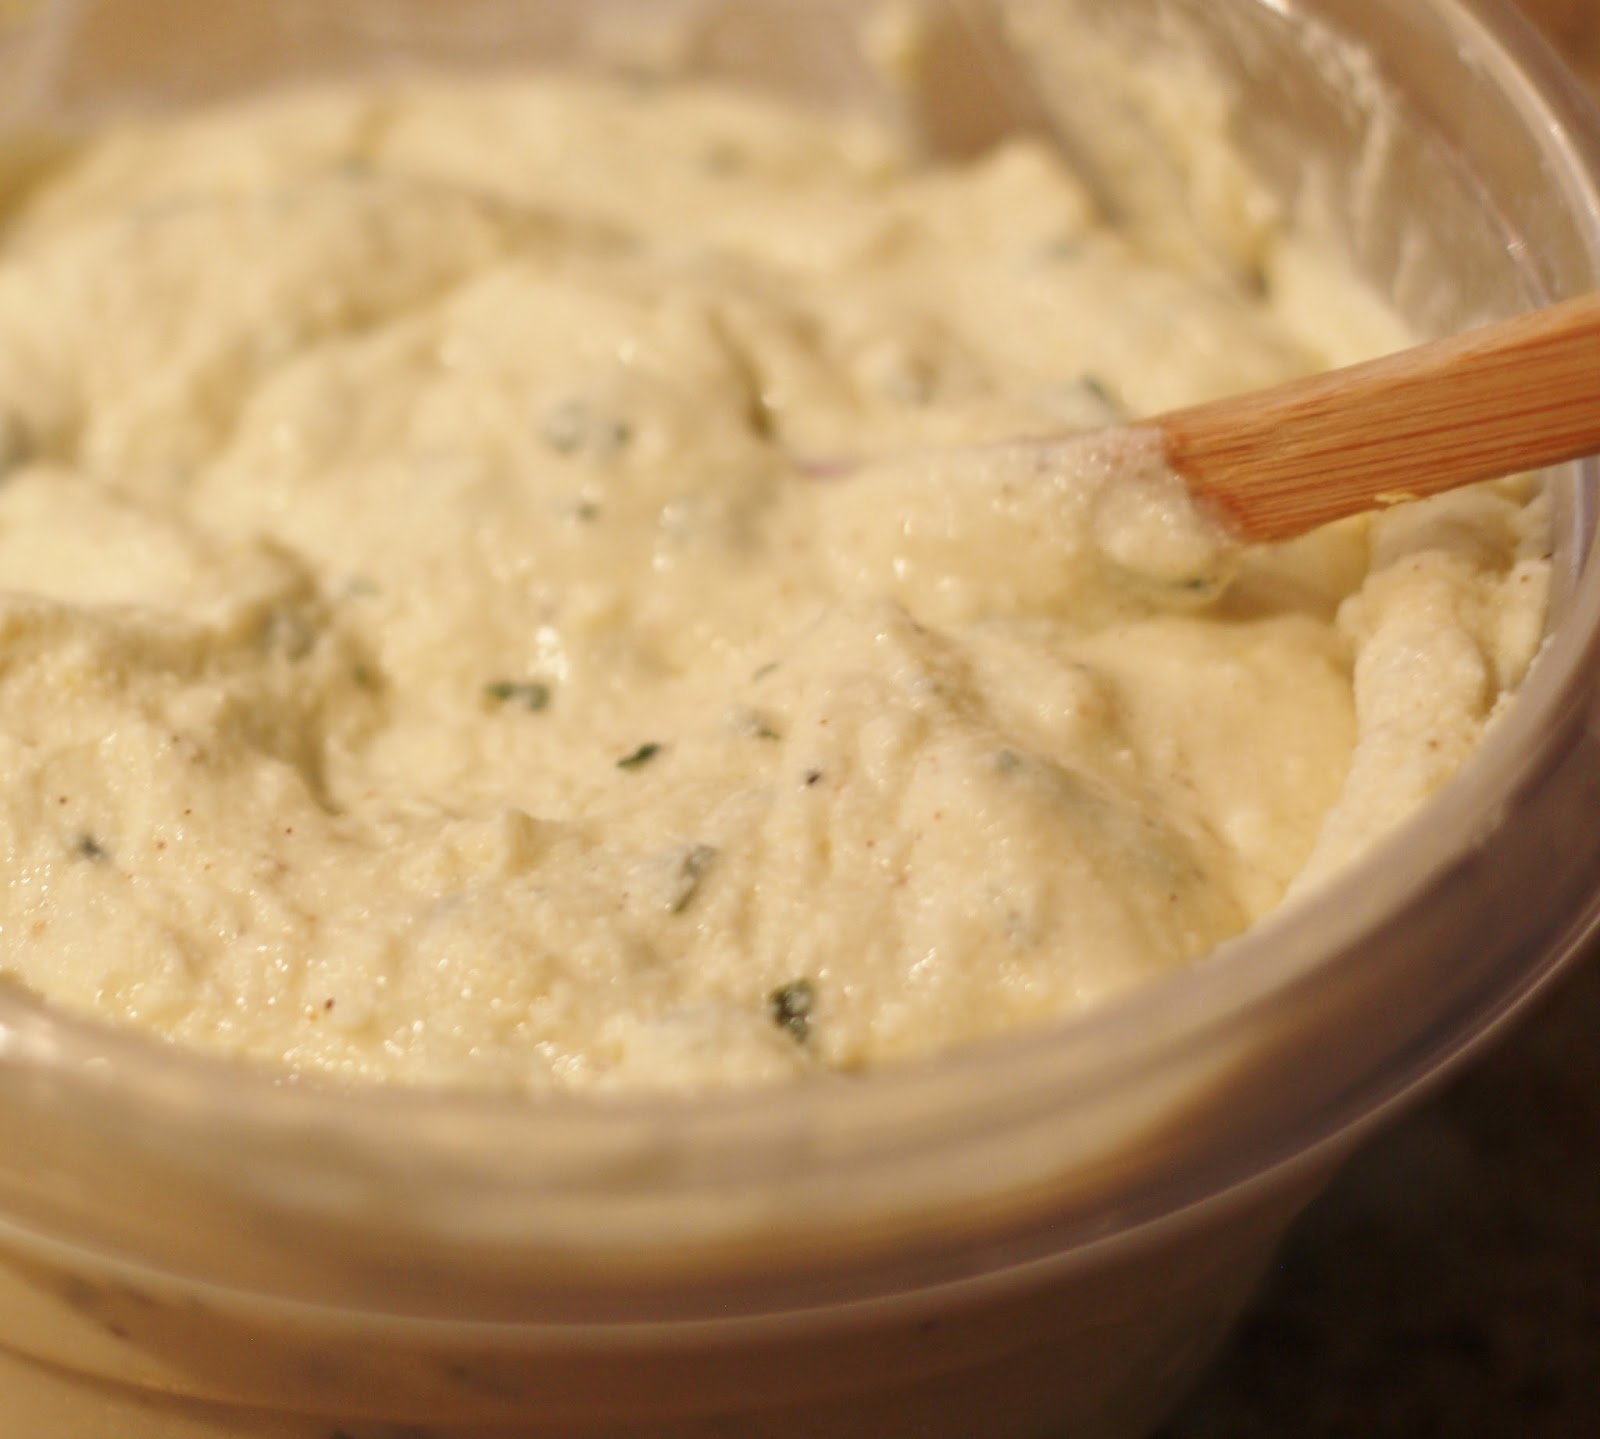
1 C ricotta
1/4 C Parmesan
1/4 C mozzarella
1 T lemon zest
1 t honey
1/4 t nutmeg
2 T minced fresh basil
2 t minced fresh parsley
salt and pepper
1 egg

Directions:


Mix first eight ingredients together then salt and pepper to taste.  Add egg and mix well.


As my beautiful Grandma Marinesi used to say, Mangia, Mangia!